Word變更尺規單位,精準定位點
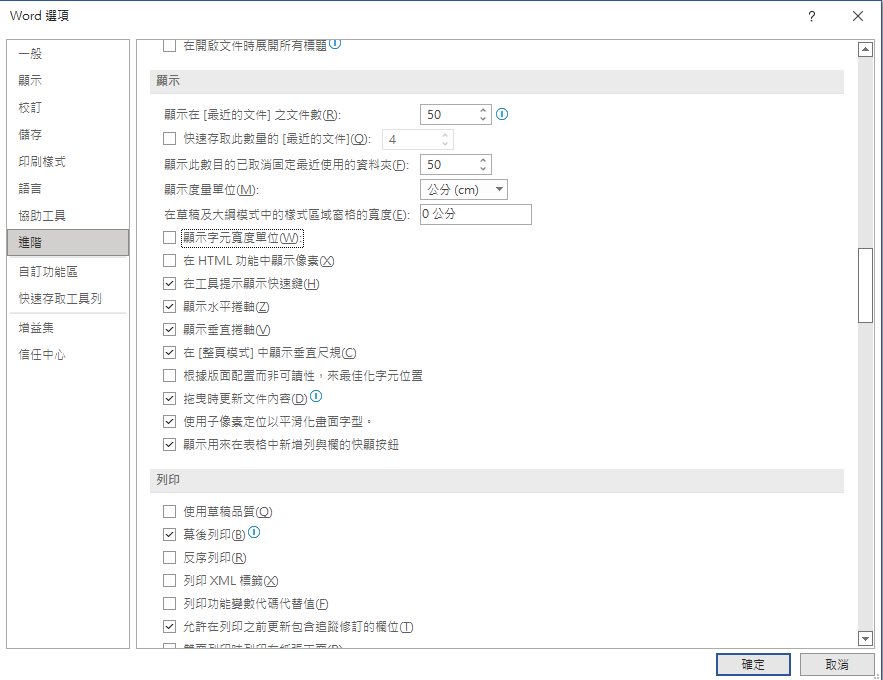
由檔案\選項\開啟對話框,在進階\顯示之下方,必須取消顯示字元寬度單位的勾選,才會由顯示度量單位的設定單位來決定尺規每一格的單位。(通常均設定為公分)
取消勾選: 顯示字元寬度單位,尺規單位變成公分:
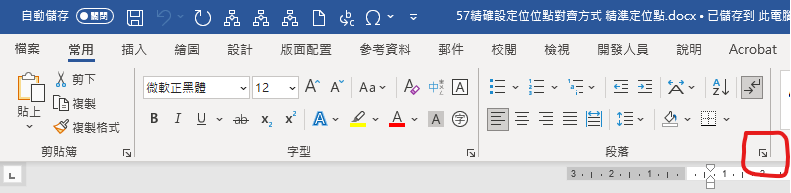
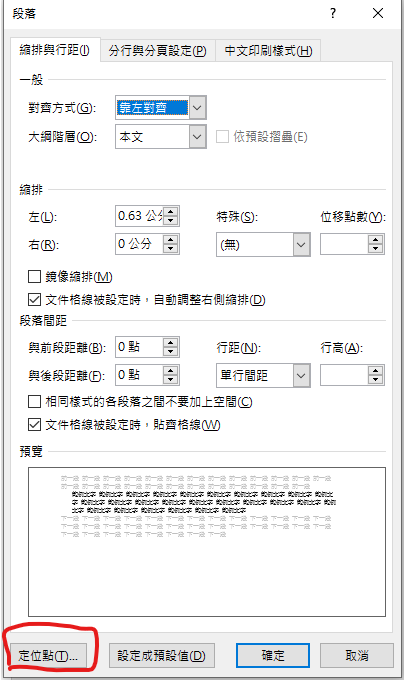
選取要編輯的段落,由常用\段落 開啟段落對話框,點選左下角之定位點 開啟對話框,若要重新設定,先按下全部清除。
點選左下角之定位點:
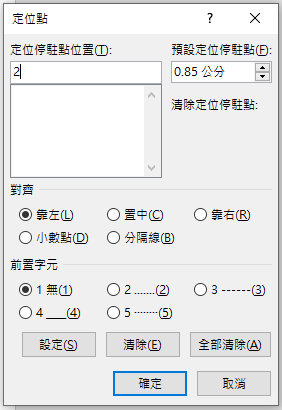
Key數字2(公分) >設定
Key數字5(公分) >設定
Key數字8(公分) >設定
Key數字11(公分) >設定
Key數字13(公分) >設定
若前面沒有把尺規單位改為公分
就key: 2公分

,但.5GHZ的.不split()? parts = filename.rsplit(“.”, 1) ; 使用正則表示法parts = re.split(r”\.(?!\d)”, filename) ; os.path.splitext(filename)")


 比較像實際行為; setdefault() vs defaultdict(list)")
 as c:")
, 判定係數 (metrics.r2_score), 皮爾森積差相關係數 (pearsonr) ; 以波士頓地區房價為例")

")


近期留言