


安裝套件(Anaconda環境):
conda install -c conda-forge selenium
conda install -c conda-forge webdriver-manager
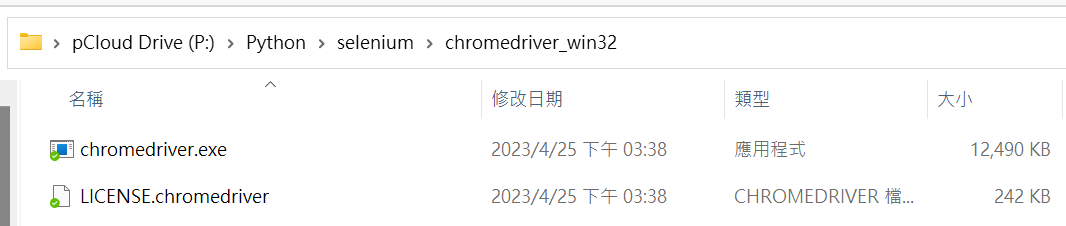
如: chromedriver_win32.zip
解壓縮後:
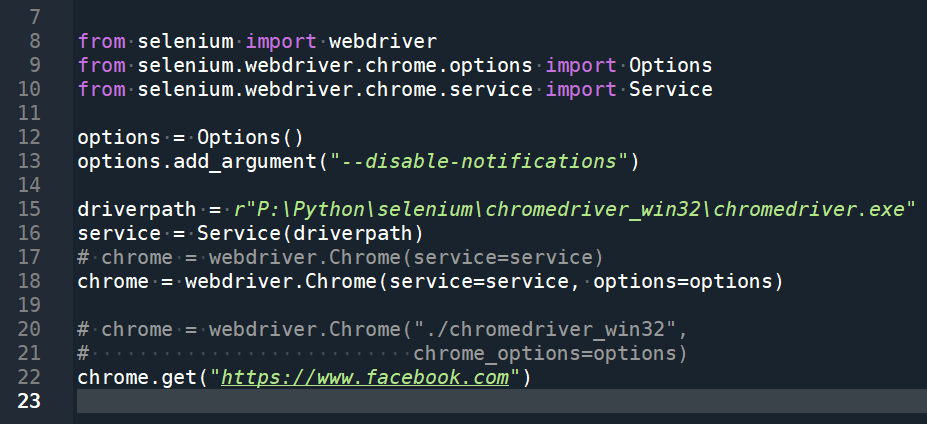
from selenium import webdriver
from selenium.webdriver.chrome.options import Options
from selenium.webdriver.chrome.service import Service
“””匯入Selenium庫所需的模組,
其中包括 webdriver、Options和Service。”””
options = Options()
options.add_argument("--disable-notifications")
“””創建一個Options對象,
使用add_argument方法設置Chrome瀏覽器的選項。
在這個例子中,
使用–disable-notifications選項禁用瀏覽器通知。”””
driverpath = r"P:\Python\selenium\chromedriver_win32\chromedriver.exe"
#定義Chrome WebDriver的路徑
service = Service(driverpath)
chrome = webdriver.Chrome(service=service, options=options)
“””創建一個Service對象,
並傳遞driverpath路徑以告訴Selenium要使用的驅動程序的位置。
然後,用service變量初始化webdriver.Chrome。”””
chrome.get("https://www.facebook.com")
#使用get方法將瀏覽器導航到Facebook的網站。
執行結果:
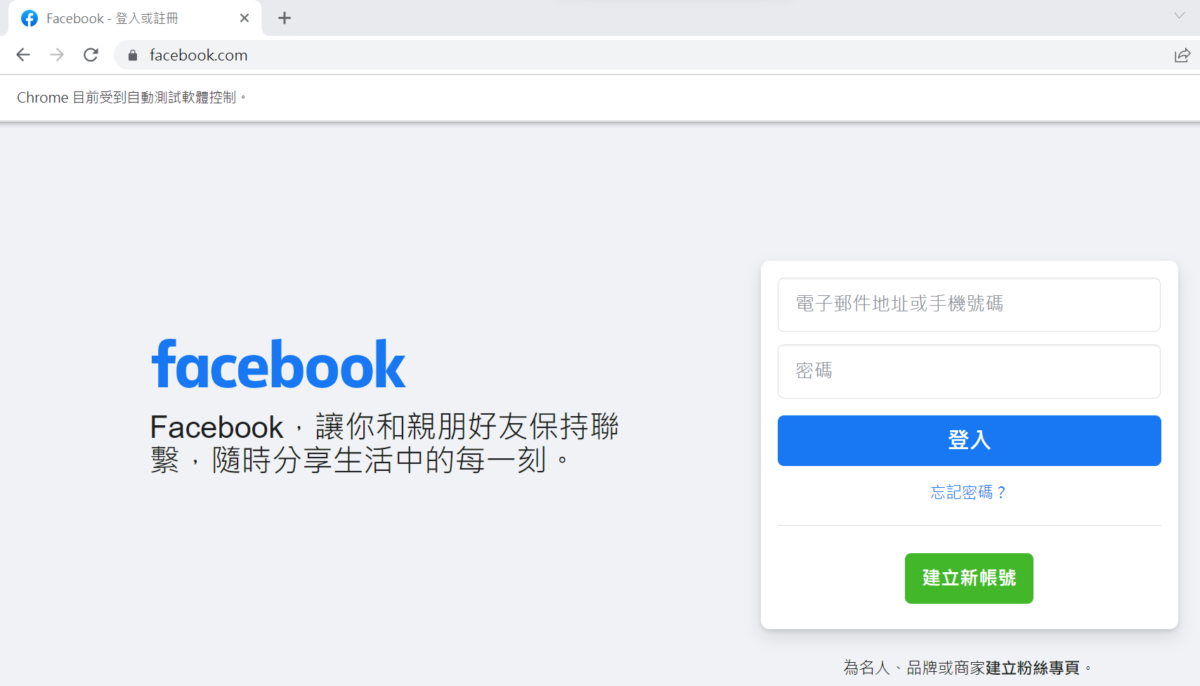
自動打開chrome瀏覽器
連線facebook:
推薦hahow線上學習python: https://igrape.net/30afN
如果出現以下錯誤的話:
SessionNotCreatedException: session not created: This version of ChromeDriver only supports Chrome version 113
Current browser version is 118.0.5993.118 with binary path C:\Program Files\Google\Chrome\Application\chrome.exe
可以將Chrome(118)降級為
同ChromeDriver(113)
![Python: matplotlib如何設定座標軸刻度? plt.xticks(seq, labels) ;如何生成fig, ax物件? fig = plt.figure(figsize= (10.24, 7.68)) ; ax = fig.add_subplot() ; fig, ax = plt.subplots(figsize=(10.24, 7.68)) ; 如何使用中文? plt.rcParams[“font.family”] = [“Microsoft JhengHei”]](https://i0.wp.com/savingking.com.tw/wp-content/uploads/2023/02/20230209083006_41.png?quality=90&zoom=2&ssl=1&resize=350%2C233 "Python: matplotlib如何設定座標軸刻度? plt.xticks(seq, labels) ;如何生成fig, ax物件? fig = plt.figure(figsize= (10.24, 7.68)) ; ax = fig.add_subplot() ; fig, ax = plt.subplots(figsize=(10.24, 7.68)) ; 如何使用中文? plt.rcParams[“font.family”] = [“Microsoft JhengHei”]")



近期留言